Screen printing is one of the most popular methods of garment decoration available. Screen printing can achieve bold, highly detailed prints, making it a firm favourite for producing highly professional prints at scale.
But what exactly is screen printing and how does it work?
In this blog, we will walk through the entire screen printing process, so you can truly grasp exactly what goes into producing your screen printed garments.
What Is Screen Printing
Screen printing is a straightforward, yet highly effective, method of garment decoration. The process involves transferring a stencilled design by pressing ink through a fine mesh screen and onto the product – most commonly fabric.
This technique applies to a wide variety of garment types, making it a flexible solution for everything from workwear to promotional clothing.
Each colour in a design is printed separately using its own screen. Layers of ink are applied one at a time to build the final image. Unlike other decoration methods, screen printing ink sits directly on top of the fabric, creating a slightly raised, textured finish that adds depth and durability to the design. That subtle texture is often the preferred choice for branded logo T-shirts in retail, band merchandise, university hoodies, and other classic apparel where a bold, long-lasting print is essential.
This method is particularly effective for:
- Bulk orders
- Bold, vibrant colours
- Durable prints
- Workwear and branded uniforms
- Sportswear
- Promotional garments
Step 1: Preparing the Artwork
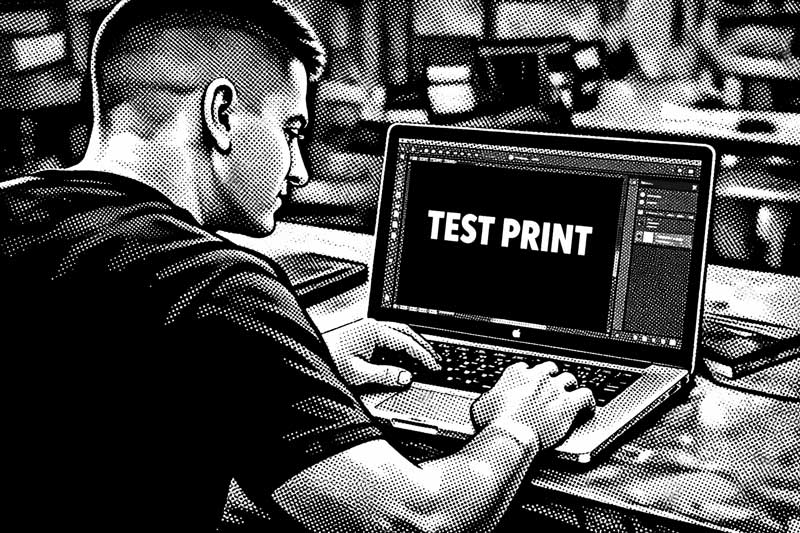
Perfecting the artwork is key, and is the first step of the process.
Colour Separation
As briefly mentioned earlier, screen printing differs from digital printing as each individual colour in the design is separated into its own screen. Unlike digital printing, screen printing requires each colour to be separated into individual layers. So if a logo that has 5 different colours is due to be screen printed, a total of 5 screens is required. Depending on the ink used and the garment colour, an additional screen (6th screen) may be needed as a white base coat.
Print providers separate the artwork using software, ensuring:
- Colours are correctly defined (often using Pantone references)
- Line weights are suitable for printing
- Small details are achievable
- The file resolution is high enough, vector format is preferred.
Step 2: Screen Creation
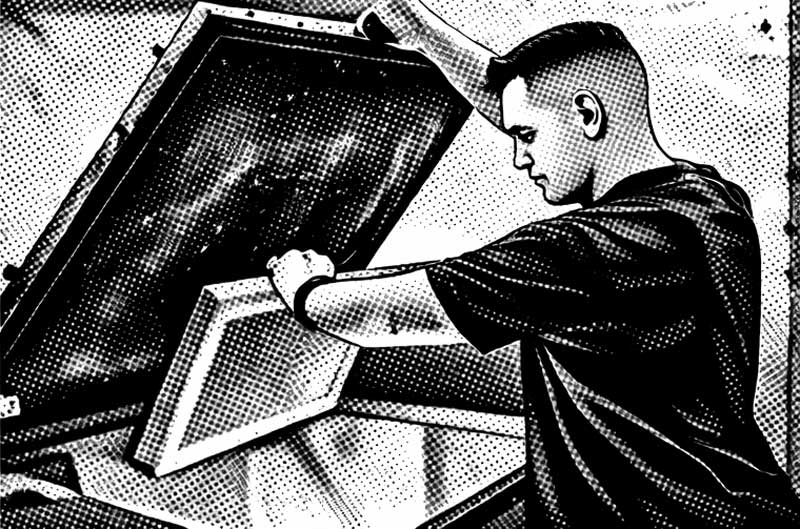
This is where the technical process begins.
The Screen Frame
There are three main parts to each screen: a strong frame – usually made out of aluminium or wood – a tightly stretched polyester mesh, and the mesh count. The strong frame holds everything together during the printing process, whilst the mesh is stretched tightly across the frame, allowing the ink to pass through it onto the garment.
In the screen printing process, the mesh count refers to how many threads there are per inch, which will determine how much ink is able to go through the screen. A lower mesh count has large gaps, meaning that more ink is able to pass through and be printed. Therefore, a low mesh count is often ideal for heavy ink coverage. On the other hand, a higher mesh count has much smaller gaps, meaning less ink is able to pass through and be printed. A high mesh count is often associated with fine detail and intricate designs.
Coating with Emulsion
Next, an emulsion that is very reactive to light is spread across the mesh to create a smooth, consistent layer. It’s very important that the coating is even so that the design exposes properly later in the process.
The screen is then placed in a darkened drying cabinet to present the emulsion from reacting to light too early in the process. Once completely dry, exposure may begin, which is when the design will be transferred onto the screen.
Exposing the Design
The separated artwork is printed onto a transparent sheet called a film positive. This film carries the design in solid black, which will block light during the exposure process.
To begin, the film positive is carefully placed onto the coated screen. The screen is then exposed to a powerful UV light. The light hardens the emulsion on the screen, but only in the areas where the light reaches it. Wherever the black design on the film blocks the light, the emulsion underneath does not harden.
After exposure, the screen is washed with water. The unhardened emulsion (the areas that were blocked by the design) rinses away, leaving open mesh. These open areas allow ink to pass through during printing, while the hardened areas remain blocked. This process creates a stencil of the design on the screen, ready for printing.
Step 3: Setting Up the Press
The next step in the screen printing process is to set up the press. This step can begin once all of the screens have been exposed. After which, they are placed onto a printing press which holds each of the screens securely in place.
There are two main types of printing presses. They are:
Manual Press
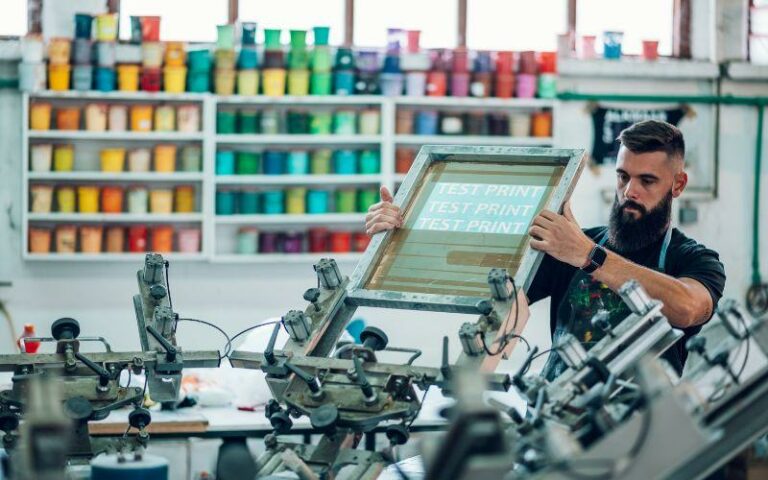
A manual screen printing press is operated by hand. The printer will load each garment, lower the screen and manually pull a squeegee across the mesh to push the ink through. This is a labour intensive process as the printer must repeat the process for each individual colour. Manual presses are ideal for smaller print runs and sampling due to the level of time required by the printer.
Automatic Press
An automatic press is a machine operated process that is designed for speed and precision. The screens and squeegees move automatically, removing the need for manual application, making them perfect for bulk order screen printing as they remove physical strain, and deliver highly consistent results across large quantities.
Each screen must be aligned perfectly in a process called registration. This process ensures that every colour in the design is screen printed in the exact position it should on the garment. Even the slightest misalignment of screens can cause colour overlap or visible gaps in the print.
Step 4: The Printing Process
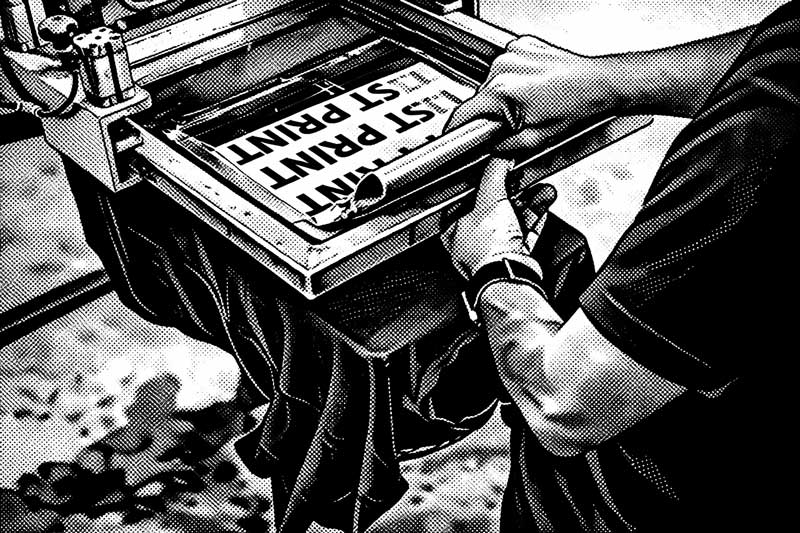
Step four is where the magic truly begins – the screen printing!
Loading the Garment
First, the garment is placed and held steadily on a flat surface called a platen. It is essential that the garment is free from creases, dust, lint and is correctly positioned to ensure optimal printing results.
Applying the Ink
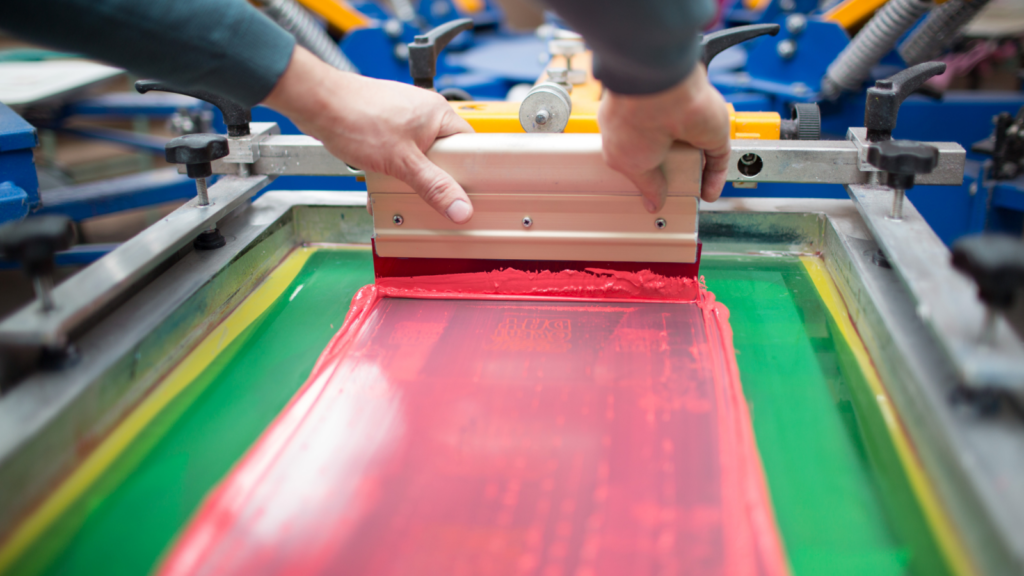
As mentioned earlier, the ink is then placed along the top edge of the screen. A squeegee device is then used to firmly pull ink across the screen, which is forced through the open mesh areas and onto the garment underneath. The parts of the screen that are blocked by hardened emulsion stop additional ink from passing through, keeping the design clean and defined.
The process is repeated for each colour of the design or logo, using separate screens for each individual colour. Between colours, garments may pass through a flash dryer. The flash dryer partially cures (dries) the ink so that the next layer can be printed on top without the colours mixing or smudging.
Step 5: Curing the Ink
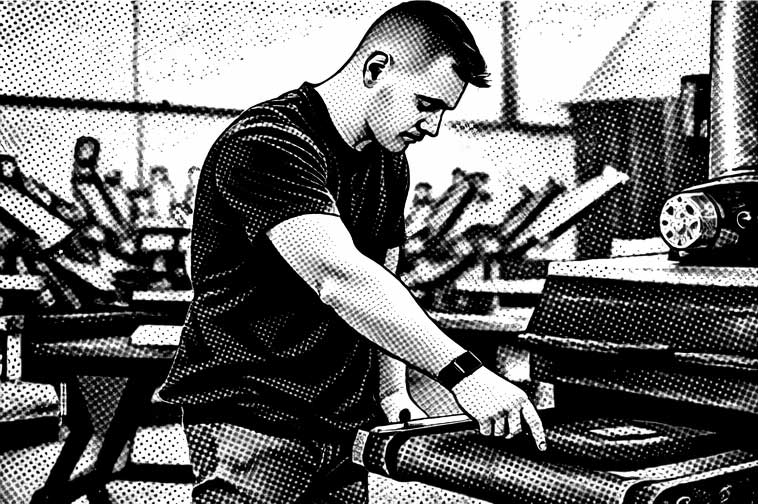
Curing the ink is arguably one of the most important stages of the screen printing process. It involves heating the applied ink to a specific temperature so that it fully cures and bonds with the fabric of the garment. Without this stage, a printed design could fail.
The desired temperature differs depending on the type of ink being used:
- 160°C for Plastisol ink (can vary slightly depending on ink type)
- Water-based ink requires evaporation and heat curing. The water content must evaporate before the ink fully bonds with the fibres of the garment.
During the curing stage, the garments will pass through a conveyor dryer that applies controlled heat. This ensures proper adhesion to the fabric, strong wash durability, and long-lasting colour vibrancy.
If a print is under-cured, the ink may crack, peel, or wash out after a few washes. If it is over-cured, the fabric can scorch or become damaged. For this reason, careful temperature control and regular testing are essential to maintain print quality and garment integrity.
Types of Screen Printing Inks
Different providers may work with different ink types when screen printing your garments.
Typically, they are:
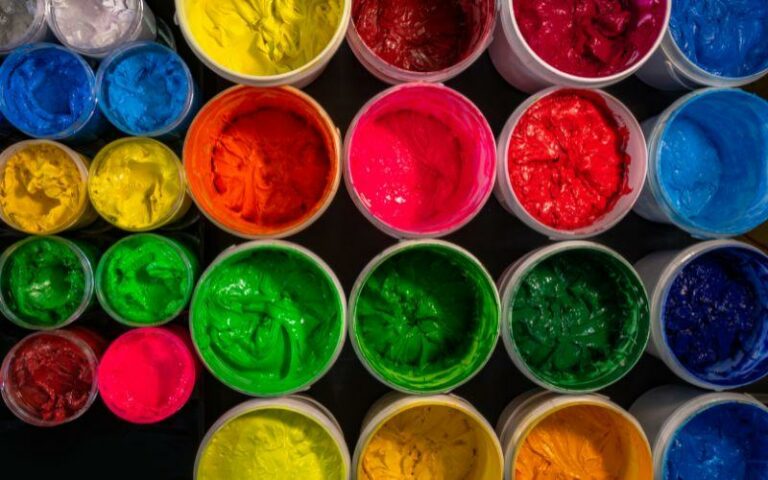
Plastisol Ink
- Most commonly used
- Sits on top of the fabric
- Vibrant and opaque
- Extremely durable
Water-Based Ink
- Softer hand feel
- Soaks into the fabric
- More breathable
- An eco-friendly option
Specialty Inks
- Puff ink
- Metallic ink
- Glow-in-the-dark
- High-density prints
- Discharge ink (removes garment dye for soft prints)
Why Screen Printing Is So Durable
Screen printing applies a relatively thick layer of ink that sits on the surface of the fabric. This heavier ink deposit creates a tough, long-lasting print that resists fading over time.
As a result, screen printing is often a popular choice for garments that see frequent wear and washing, such as workwear, where maintaining colour vibrancy and durability is essential.
Advantages of Screen Printing
When investing in custom clothing, it’s important to choose a decoration method that aligns with your specific needs, budget, and intended use. To help you make the right decision, here are some key advantages of screen printing:
- Highly cost-effective for large volume orders
- Fast turnaround times, especially for bulk production
- Accurate Pantone colour matching available
- Eco-conscious inks and a low-waste production process
- Suitable for use on a wide range of fabrics
Limitations to Consider
Like any garment decoration method, screen printing also has some limitations. The main disadvantages include:
- Not cost-effective for very small orders (typically under 25 garments) due to screen setup requirements
- Less suited to highly complex designs with many colours, as each colour requires a separate screen
- Slower than DTG (Direct to Garment) printing for small to mid-sized print runs, where minimal setup is needed
When Is Screen Printing the Best Choice?
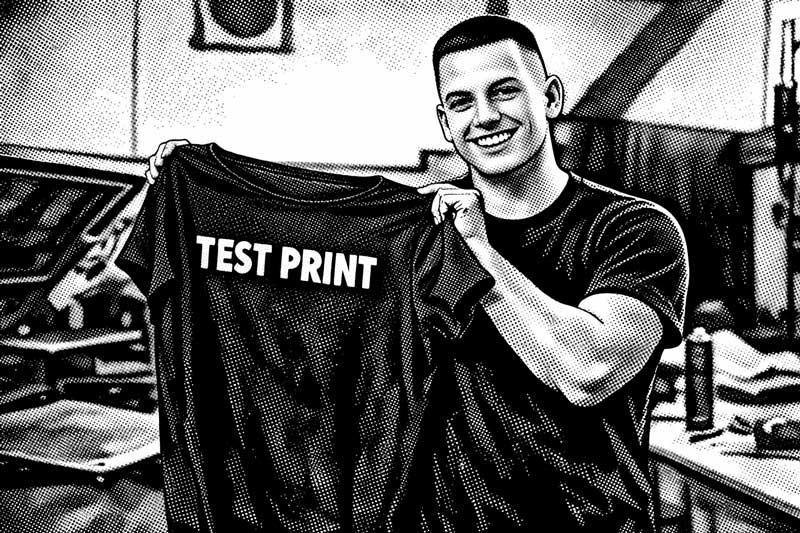
Screen printing is an ideal choice of decoration method when consistency, durability, and value at scale are important. It works well when:
- You require consistent branding across a large number of items.
- You’re ordering in bulk
- You want bold, long-lasting prints
- You require Pantone colour matching
- You need durable workwear branding
There’s a reason why screen printing remains one of the most trusted decoration methods in the industry. The process contains many steps, but all of which play a crucial role in delivering world class results.
Screen printing produces vibrant, durable prints that can be pantone coloured matched, making it an excellent choice for bulk workwear and sportswear orders that require the print to remain vibrant after multiple washes.
Think that screen printing sounds like the best option for your next custom clothing project? Get in touch today to speak to the team about our service.